记一次AI拍立得视频生成实践
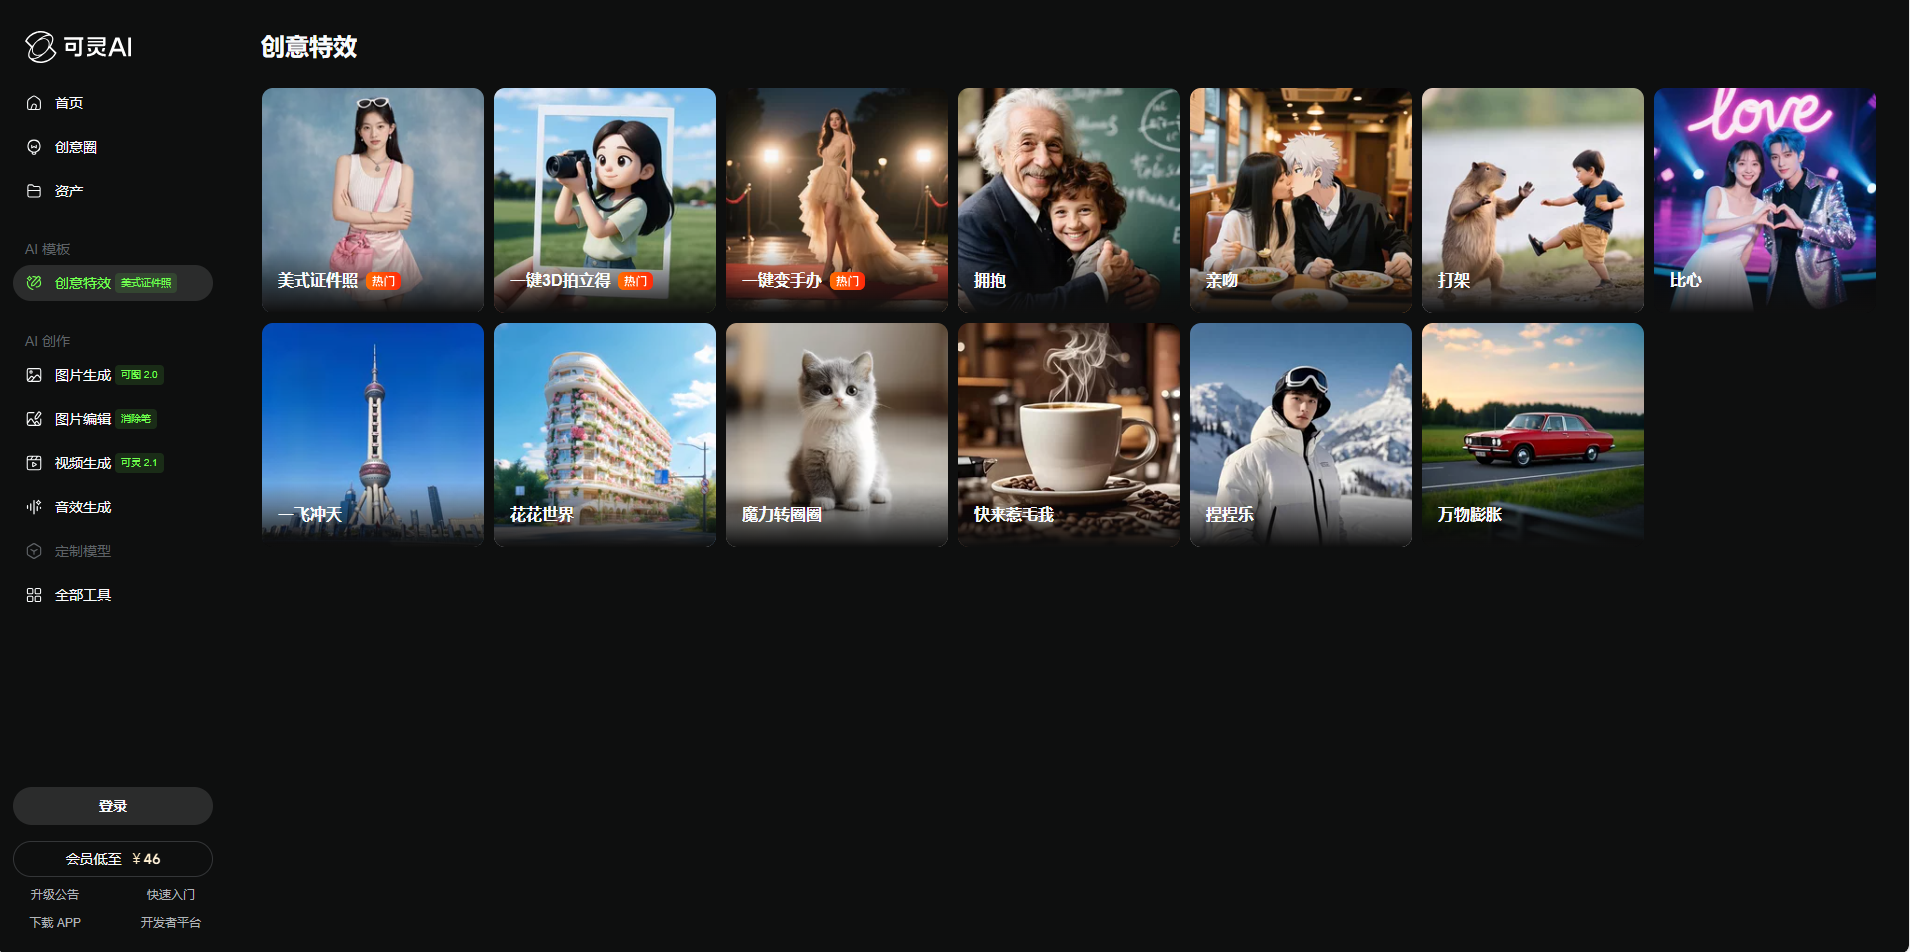
近日,笔者受辅导员委托,为校宣传部开发一个官方的小程序平台,实现毕业生AI人像视频生成。效果模仿可灵AI的一键3D拍立得。尽管后来由于某些原因中止了,但实践过程中还是有趣的。

这个效果初看容易,实际上仅调用图生视频API无法直接得到很好的效果,并且不能精准地控制标尺和缩放效果。
笔者经过仔细观察,发现这个视频其实是由 前2秒的模板 + 后5秒的AI视频 组成。
开发过程
开发步骤
首先确定思路,该任务在视频实现方面有三个重要步骤。
- 上传毕业照,生成可爱风格的人像照片。
- 生成前2秒的效果:有一个弧形的标尺,左右旋转分别对应缩放效果。由于对于不同照片这个效果都是一致的,因此需要通过视频模板生成。
- 生成后5秒的AI效果:基于(1)中的可爱人像,调用图生视频API,用提示词引导模型得到灵动的效果。
由于API一般都用Python调用比较方便,采用Flask框架快速开发。
开发难点
经过简单的实践,(2)和(3)均可调用API完成,(1)却没有找到很好的方法。
最终,笔者采用一种个性化的定制方案:利用OpenCV绘制视频。
安装OpenCV
1
|
pip install opencv-python
|
 1
 2
 3
 4
 5
 6
 7
 8
 9
10
11
12
13
14
15
16
17
18
19
20
21
22
23
24
25
26
27
28
29
30
31
32
33
34
35
36
37
38
39
40
41
42
|
def draw_circle_ruler(frame, center, max_radius, angle, ruler_alpha):
    # 绘制刻度线
    for i in range(0, 360, 10):
        # 计算刻度线位置
        rad = math.radians(i + angle)
        inner_radius = int(max_radius * 0.9)
        outer_radius = max_radius

        # 主刻度(每30度)
        if i % 30 == 0:
            outer_radius += 10
            thickness = 3
            color = (255, 255, 255)
            # 添加数字
            text_radius = int(max_radius * 0.85)
            text_pos = (
                int(center[0] + text_radius * math.sin(rad)),
                int(center[1] - text_radius * math.cos(rad))
            )
            cv2.putText(frame, str(i // 10), text_pos,
                        cv2.FONT_HERSHEY_SIMPLEX, 2, color, 3)
        else:
            thickness = 1
            color = (255, 255, 255)

        start_point = (
            int(center[0] + inner_radius * math.sin(rad)),
            int(center[1] - inner_radius * math.cos(rad))
        )
        end_point = (
            int(center[0] + outer_radius * math.sin(rad)),
            int(center[1] - outer_radius * math.cos(rad))
        )
        cv2.line(frame, start_point, end_point, color, thickness)

    # 添加透明度效果
    if ruler_alpha < 1.0:
        overlay = frame.copy()
        cv2.circle(overlay, center, max_radius + 20, (0, 0, 0), -1)
        frame = cv2.addWeighted(overlay, 1 - ruler_alpha, frame, ruler_alpha, 0)

    return frame
|
 1
 2
 3
 4
 5
 6
 7
 8
 9
10
11
12
13
14
15
16
17
18
19
20
21
22
23
24
25
26
27
28
29
30
|
def draw_camera_icon(frame, button_pos):
    # 添加底部录制按钮
    button_radius = 160
    button_thickness = 15  # 外圆厚度

    corner_radius = 10  # 圆角半径
    square_size = 60

    # 绘制白色外圆(有一定厚度)
    cv2.circle(frame, button_pos, button_radius, (255, 255, 255), button_thickness)

    # 绘制红色圆角正方形
    top_left = (button_pos[0] - square_size, button_pos[1] - square_size)
    bottom_right = (button_pos[0] + square_size, button_pos[1] + square_size)

    # 创建圆角矩形的轮廓
    rect = np.array([
        [top_left[0] + corner_radius, top_left[1]],  # 上边开始
        [bottom_right[0] - corner_radius, top_left[1]],  # 上边结束
        [bottom_right[0], top_left[1] + corner_radius],  # 右上角
        [bottom_right[0], bottom_right[1] - corner_radius],  # 右边结束
        [bottom_right[0] - corner_radius, bottom_right[1]],  # 右下角
        [top_left[0] + corner_radius, bottom_right[1]],  # 下边结束
        [top_left[0], bottom_right[1] - corner_radius],  # 左下角
        [top_left[0], top_left[1] + corner_radius]  # 左边结束
    ], dtype=np.int32)

    # 绘制填充的圆角矩形
    cv2.fillPoly(frame, [rect], (0, 0, 255))
    return frame
|
 1
 2
 3
 4
 5
 6
 7
 8
 9
10
11
12
13
14
15
16
17
18
19
20
21
22
23
24
25
26
27
28
29
30
31
32
33
34
35
36
37
38
39
40
41
42
43
|
for frame_num in range(total_frames):
    # 计算当前进度(0-1)
    progress = frame_num / total_frames

    # 创建当前帧的副本
    frame = img.copy()

    # 计算当前标尺的显示比例(0-1)
    ruler_alpha = min(0.3, progress * 2)  # 前50%的时间完成显示

    if ruler_alpha > 0:
        frame = draw_circle_ruler(frame, center, max_radius, angle, ruler_alpha) # 绘制圆形标尺

        # 计算当前旋转角度(-30到30度之间摆动)
        if progress < 0.5:
            # 计算当前缩放比例(0.8-1.2之间变化)
            last_scale = scale
            last_angle = angle
            scale = 1.0 + 0.2 * math.sin(progress * math.pi)  # 2个完整周期
            angle = -30 * math.sin(progress * math.pi)  # 2个完整周期
        else:
            scale = last_scale
            angle = last_angle

        # 应用缩放
        if scale != 1.0:
            M = cv2.getRotationMatrix2D(original_center, 0, scale)
            frame = cv2.warpAffine(frame, M, (w, h))

        button_pos = (w // 2, h - 300)

        """ 写一下其他按钮的绘制逻辑 """

        # 显示或写入帧
        if output_path:
            out.write(frame)
        else:
            # 保持原始宽高比例显示
            cv2.namedWindow('Ruler Animation', cv2.WINDOW_NORMAL)
            cv2.resizeWindow('Ruler Animation', w, h)  # 设置为原始图片尺寸
            cv2.imshow('Ruler Animation', frame)
            if cv2.waitKey(30) & 0xFF == ord('q'):
                break
|
这样就完成了前两秒的视频绘制。
图像和视频的生成调用API即可,不再赘述。推荐可灵AI的API和阿里的通义万相。
下面讲述如何将两段视频拼接,并自动添加转场。
下载ffmpeg库,用subprocess运行命令行实现。
 1
 2
 3
 4
 5
 6
 7
 8
 9
10
11
12
13
14
15
16
17
18
19
20
21
22
23
24
25
26
27
28
29
30
31
32
33
|
def combine_video(input_video1, input_video2, output_video):
    # 构建FFmpeg命令
    ffmpeg_cmd = [
        "ffmpeg",
        "-i", input_video1,
        "-i", input_video2,
        "-filter_complex",
        "[0:v]scale=1920:1080:force_original_aspect_ratio=decrease,"
        "pad=1920:1080:(ow-iw)/2:(oh-ih)/2,"
        "setsar=1:1,"  # 修复SAR不匹配
        "fade=out:st=4:d=1[v1];"
        "[1:v]scale=1920:1080:force_original_aspect_ratio=decrease,"
        "pad=1920:1080:(ow-iw)/2:(oh-ih)/2,"
        "setsar=1:1,"  # 修复SAR不匹配
        "fade=in:st=0:d=1[v2];"
        "[v1][v2]concat=n=2:v=1:a=0[outv]",
        "-map", "[outv]",
        "-c:v", "libx264",
        "-preset", "fast",
        "-crf", "23",
        "-y",  # 覆盖输出文件
        output_video
    ]

    # 运行命令
    try:
        subprocess.run(ffmpeg_cmd, check=True)
        print("视频处理完成!")
    except subprocess.CalledProcessError as e:
        print(f"处理失败: {e}")
    except FileNotFoundError:
        print("错误: 找不到ffmpeg,请确保已安装FFmpeg并添加到系统PATH")
|
最后,我们就得到了2+5的可爱视频了!前两秒的视频模板完全可以自行定制,后面的效果则由Prompt工程调优。
总结
由于种种原因(费用开销、AI稳定性、人像隐私),最后这个项目没有继续,但也算是一次有趣的实践。
